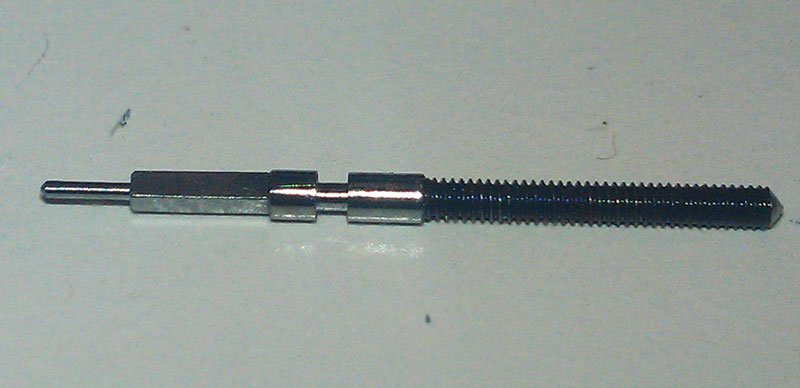
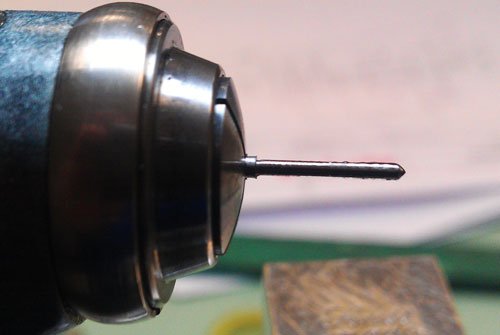
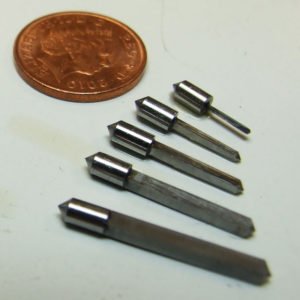
Being able to file a square is a core skill of a watchmaker, demonstrating the ability to file a flat and at perpendicular angles.

For a small piece such as this we will use a cut 6 file.
When you are cutting the cylinder to diameter, try and go to the maximum minimum tolerance on rounded cylinder. e.g. if tolerance is -0.01mm on a 1mm bar, take it to 0.99mm. The reason is that the smaller the bar, the more prominent the chamfer on the edges of the square.
The chamfer will demonstrate your skill at turning and will the by virtue of their thickness whether the square is central to the cylinder.
You also want a chamfered edge as the winding pinion’s inside corners won’t be perfectly sharp.

Using an India stone, take away the chamfer on the edge of the file on the safe edge. This will allow the cutting part of the file to be tight to the edge allowing you to have sharp corners on whatever you’re filing.


Mark 90 degree points on the divider on the lathe to ensure that you don’t forget the exact angles.

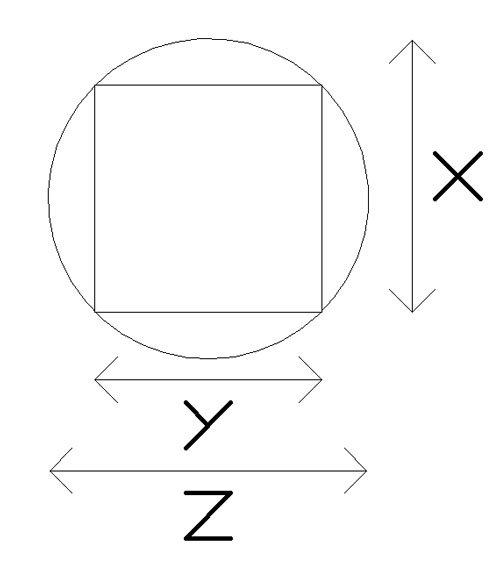
x = ((z-y)/2) + y
In this case we’re making a 0.88mm square from a 1.2mm bar.
So;
x = ((1.2-0.88)/2) + 0.88
x = 1.04mm
Add 0.005mm (5 microns) to each side for lapping, 0.01mm total width.

Support the piece from underneath with your finger.
Make a few strokes with the file. You can see whether you are cutting straight or not by whether the file marks leave parallel lines on the cylinder. You can adjust the pressure you are putting on the piece accordingly to ensure that you are filing flat.
Never move the roller, as you will not be able to duplicate the same angle that you are filing at if you do.

To use a micrometer, tighten it until the handle slips. Each of the markers on the vertical part equal 0.5mm. In this case there is zero and then 2 markers, so that makes it 1mm. You then read the horizontal markers to see how far between 1mm and 1.5mm it is. Here it is about 11.5. Each one of these equals 0.01mm.
This makes the current width 1.115mm. So we still have more material to remove.

You then file each side until you are 0.01mm above the measurement.


Set the lathe as a swing tool using centres. The piece should have no play but should be free to move.
Using a piece of brass or other softer material. File the piece of metal that you are going to use to make sure the corners are sharp and the surface is flat.
Put some abrasive paste on the lapping tool. You want horizontal graining across the piece, with all the file marks removed, sharp shoulders and even chamfered edges


David Boettcher
25 August, 2016 at 2:11 pm
I am not sure how you would get a 0.88mm square from a 1.2mm bar?
The largest square that would fit inside a circle 1.2mm diameter is just under 0.85mm square, so where does the extra 0.03mm (0.015mm on each side) to take it up to 0.88mm come from?
It seems a small amount, but it is three times greater than the 0.005mm (5 microns) you allowed on each side for lapping.
Colin
29 August, 2016 at 9:14 pm
Hi David,
Thanks for your message. I didn’t explain it clearly when I wrote this article.
You’re right if we were looking to make a perfect square from the bar, but we’re looking to make a square for use in horology.
This means that we don’t want sharp edges, but rather curved ones. So each of the four corners of the square is actually the surface of the original bar.
Sharp edges on squares are not used in watches. One of the reasons a winding stem cannot have a perfect square is that the “square” hole in the sliding pinion will always have rounded inside corners due to it being impossible to drill a perfect square – so if the winding stem’s corners were sharp they would jam inside it.
I hope that makes it clearer.
Colin